
You may look at this list and think, “I don’t have time for these,” or “I am not good at making things.” But most of these are pretty simple and you can do them in minutes. Seriously, I am not very good at making things either and I can do all of these. Well, I think I can… In this article, you will find 38 pawesome DIY Dog projects like DIY dog brain games and toys, DIY dog accessories ideas and projects, simple life hacks for dog owners, and DIY all-natural dog care. Check it out and let me know in the comments section below if you were able to do some of these or if you have any questions or comments. I will answer you!
DIY dog mental stimulation toys
"Spin the bottle"
Another way to keep your pup from getting bored is to play games with him. This one is so simple even your human kids can do it. Really, all you need is a plastic bottle like an empty water bottle and a piece of string. Cut two holes in opposite sides of the bottle about a quarter of the way down. Pull the string through and tie one end of it to something heavy. Add a few treats or pieces of kibble and call your dog. Hold out the string so the bottle stands upright and show your pup how he can flip it to get the kibble out. This takes some strategy and will keep you, your dog, and your kids busy for a while.
Use some of our DIY dog treats from our 105 DIY Dog Treats article.
Dog Fidget Spinner DIY!
This one is great for all dogs to teach them problem solving while keeping them entertained. All you need are 5 resealable cans (like mixed nuts), scissors, Velcro, a glue gun, a marker, and a Lazy Susan. You will really just use 4 of the cans in the spinner but the 5th one is to help you space them. You have to place them in a fidget spinner shape with one in the middle and three around it. Mark each can where they touch and glue them together with the glue gun. Do the same on bottom and in between them to make it sturdy. Let it dry and then poke some holes around the outsides of the cans so the treats can come out. Add Velcro to the bottom (the large side) of the Lazy Susan so it will stick to the rug and keep it still. Glue the cans to the small side of the Lazy Susan. Add some treats to each can and let your dog see. Then just sit back and watch him spin and munch.
You can paint the spinner if you want to.
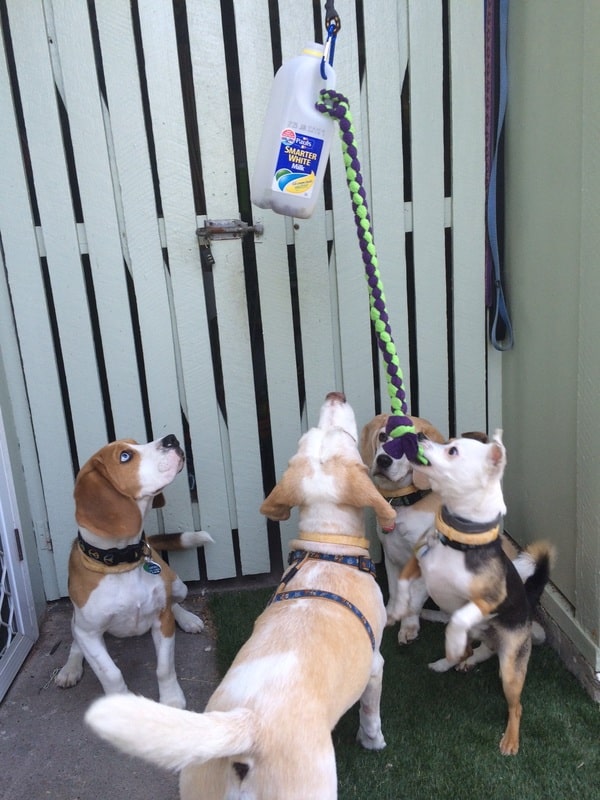
Make your best friend a Milk Bottle Bungee
If it seems like your fur buddy is getting sick of the treats you give him or won’t eat the kibble you have been giving him, try this cute trick. “Similar to the Spin the Bottle” toy but this one uses a milk jug. Clean out the milk jug, cut some holes in it, and attach a carabiner to the handle and attach a bungee cord to the carabiner. Tie some rope to the handle for your pooch to pull on. Use the bungee cord to attach the jug to a tree up high enough so your pup can just reach the rope to pull on. Add dog food to the jug and show your dog how to pull the rope and make the food come out.
For an indoor toy, hang it from a hook on the back of a door or closet.
DIY Snuffle Mat
Does it seem like your furbaby is bored? Even when you give him a treat, does he seem to say, “Really, mom? You can’t make it interesting for me?” This Snuffle Mat is the perfect way to give Fido something to do for a while and get some treats in the process. All you need is a piece (a half or quarter, depending on how big your pup is) of an anti-fatigue mat with holes in it and several different colors of fleece. Tie a piece of fleece to each hole (knotted once or twice). When you get a few pieces tied on, tie them together. Then just keep adding pieces to the mat until all the holes are full. That’s it. Now you can hide treats inside the mat under the fleece and watch your dog dig for them.
You can add a dog treat to the middle if you want tying it to the fleece.
DIY dog treat dispensing toys
DIY Dog Toys - Kong Toy for Dogs
Does your pooch get anxious when you leave him alone? Instead of buying him a Kong Toy, why not make one yourself? Grab an empty water bottle and make some holes in it. Make sure the holes are big enough to let the food out when your dog moves the toy around. Put some tape on each hole and push it in to cover the sharp edges. Then put some kibble or treats in the bottle, put the lid back on, and show it to your dog. He will spend all day getting the treats out.
Make sure your pooch does not chew up the bottle when the treats are gone. Either take it away or put some kibble in it.
DIY Puppy Dog Food Dispenser from Cardboard at Home
This is one of the cutest dog food dispensers I have ever seen. And you make it yourself. All you need is some cardboard, a plastic jar, a glue gun, a popsicle stick, some card stock, two small rubber bands, and a utility knife. Cut the cardboard to sizes shown in video, cut the popsicle stick to sizes shown in video, and assemble. Glue it all together and add the jar to the top with treats or kibble in it. Show your pup how to work it and watch his face light up when a piece of food comes out!
The video has all the other details you will need.
Diy dog toys for heavy chewers
Crown Knot Denim Dog Toy
Got an old pair of blue jeans laying around? Don’t throw them away. Use them to make dog toys. Cut four denim strips and hold them together at the top with a rubber band. Tie a series of crown knots until you get to the end of the strips. You can make it as long as you want, depending on the size of your dog.
Use a pair of needle-nose pliers to pull the ends through the toy and trim so they are hidden.

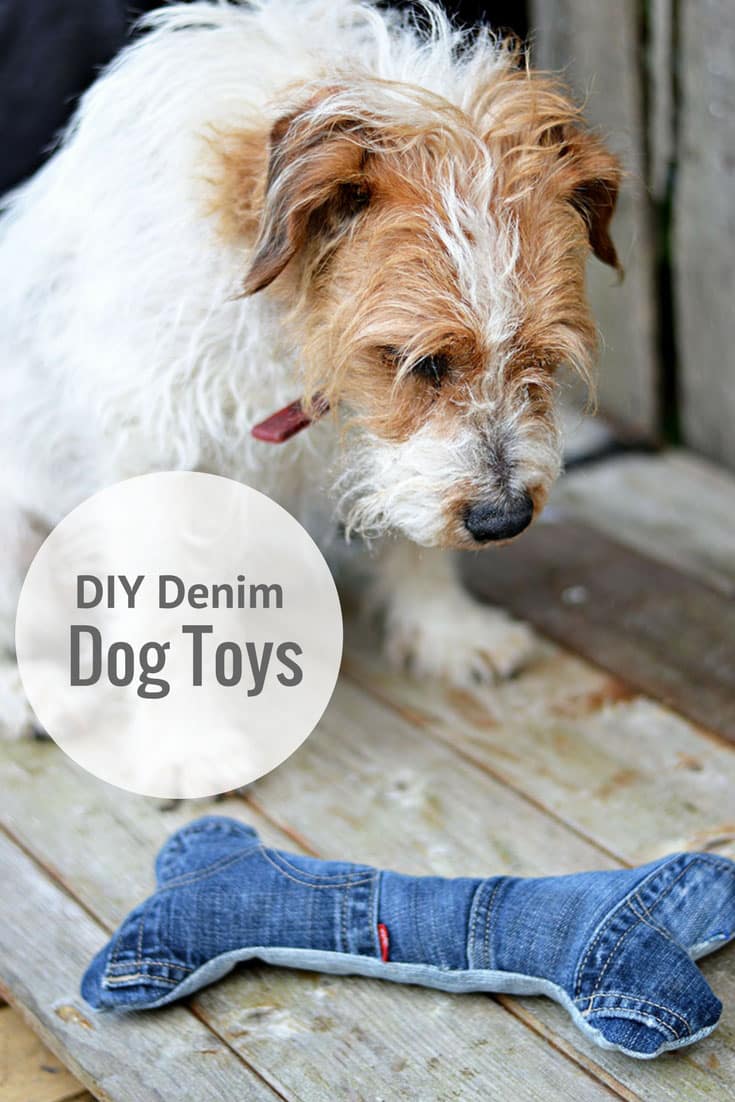
DIY Denim Dog Toys
Do you ever wonder what your dog does all day when you are at work? When you come home and find all his toys chewed to pieces, you may get an idea of what he does. Take an old pair of jeans and cut them into whatever shape you want, fill it with some kind of pet-safe fiber, and sew it together. That is all there is to it!
If you don’t like to sew, you can use a glue gun.
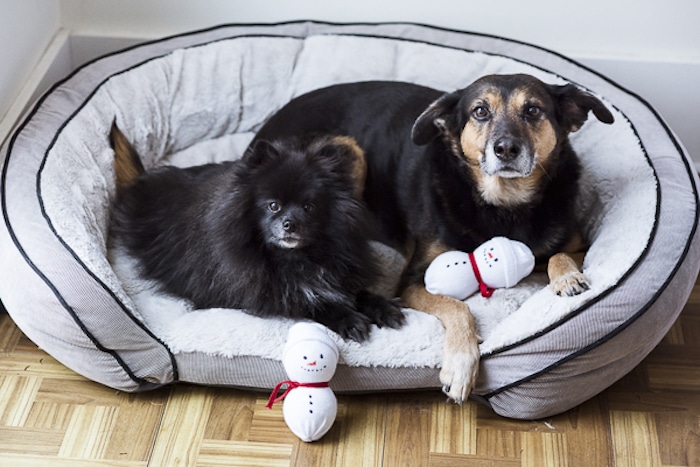
Dog toy made of tennis ball and old jeans
Did the dryer (or the dog) eat one of your socks? How about putting the other one to use as a dog toy? This cute snowman toy is fur-fect for Fido. Just put two tennis balls in a sock, tie a string around the sock between the two balls. Fold the sock over and tie another piece around the end. Then roll the sock over again to make the snowman’s hat. Draw a face on the snowman and toss it to your pup! He is going to love it!
It doesn’t have to be a snowman. Use your imagination.
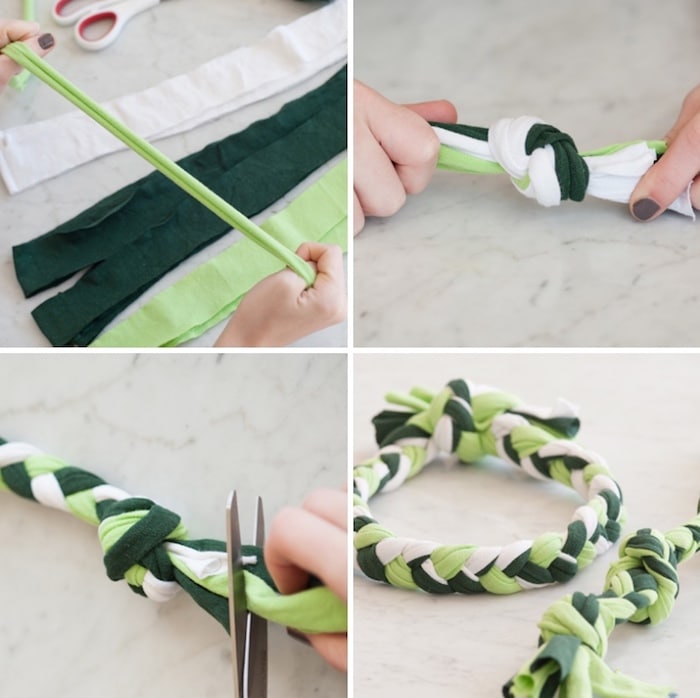
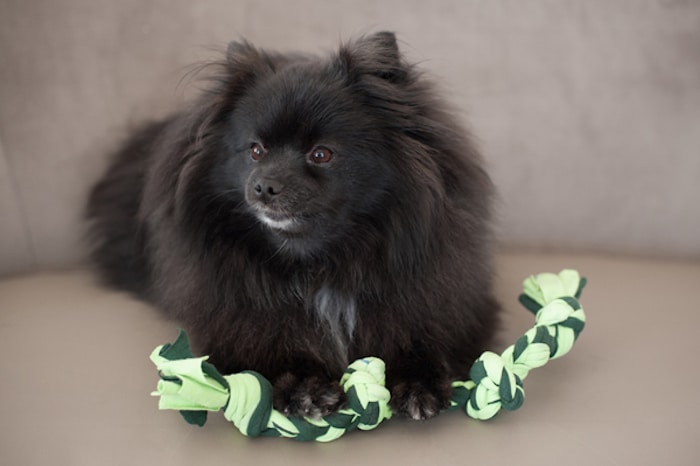
Chest toy from old T-shirts
If you have some old t-shirts laying around, cut them into strips and make this pawesome dog toy for your pupcake. Tie them into a knot at one end. Braid the rest of the strips together. Knot it together at the other end. That’s all! You’re done! Toss it to your pup and let him play with it.
Use longer strips to make a longer toy.
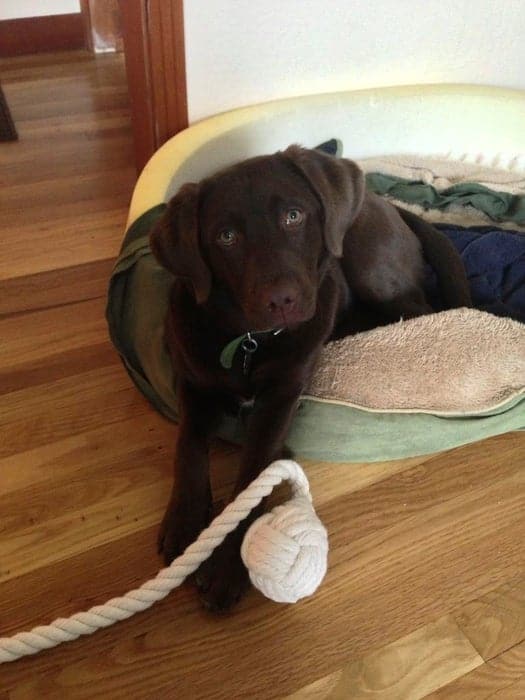
Ball and Rope Dog Toy
Does your pooch love chewing on things? Yeah, they all do. Making toys for your dog from rope is easy and inexpensive… and fun! All you need is 10 to 15 feet of rope and a small ball like a Lacrosse ball. And some tape. Unravel the rope into three strands and tape the ends to keep them from fraying. Tie a knot at one end and then tie a 3-part Turk’s head (click on link for details) around the ball at the other end. Then tie another knot about 12 inches from the first knot to make the handle.
Make it long enough so that when you hold the handle the ball almost touches the ground.
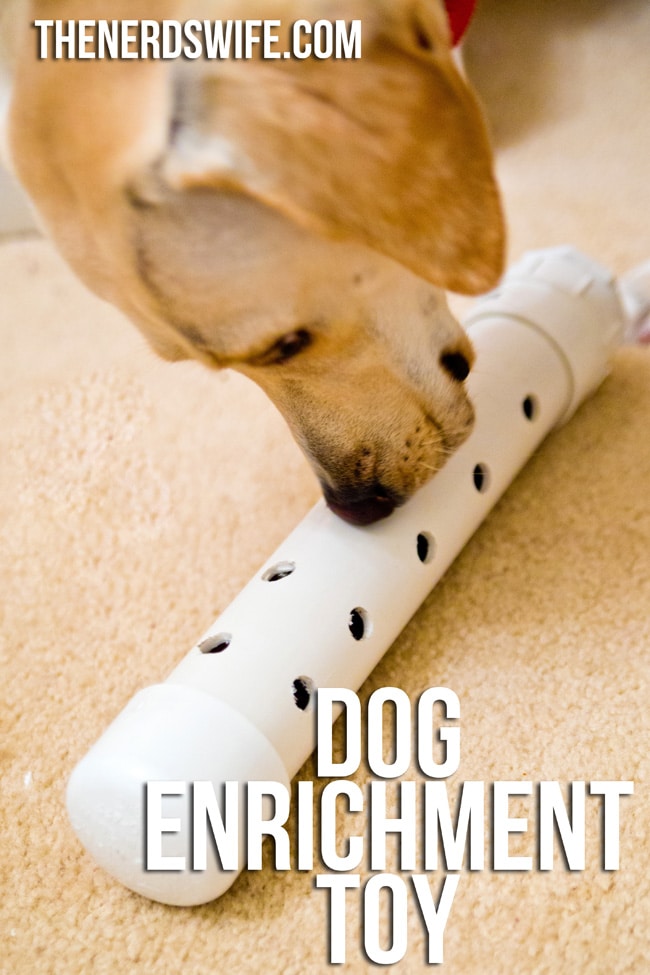
Dog Enrichment Toy
If your Fluffy seems like she is bored or if she is wolfing down her food in 30 seconds, slow her down by feeding her from this tube. Make her work for it. Get a 12” long 2-inch PVC pipe with a screw-on cap for each end. Drill a bunch of holes in the pipe just big enough for the food to come out. Usually a ½ inch drill bit will work. Fill it with kibble and put the end on tight. Give it to her and see how long it takes her to get all the food out.
You can make the holes smaller or larger depending on the size of the food your dog eats.
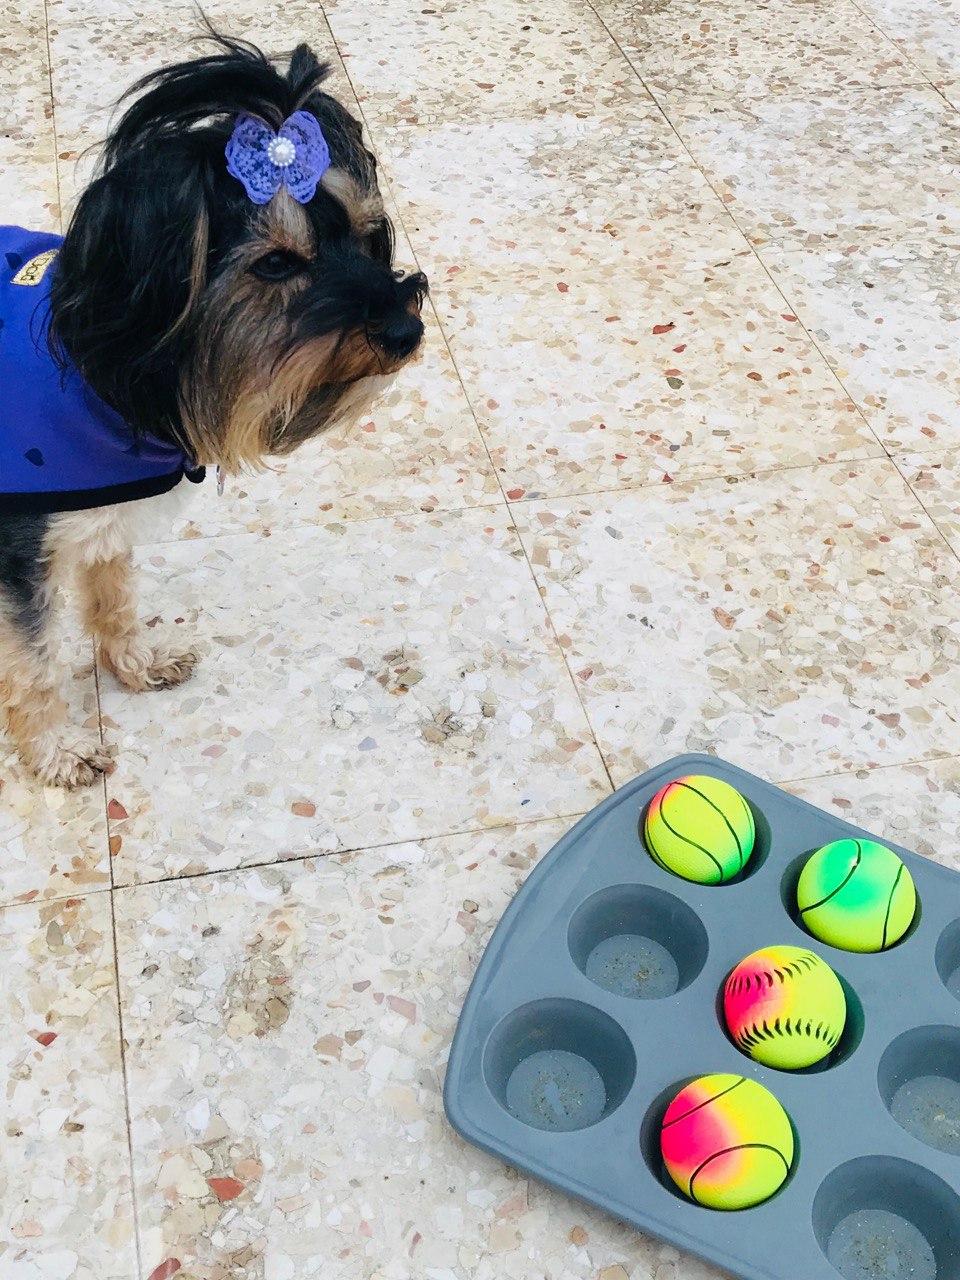
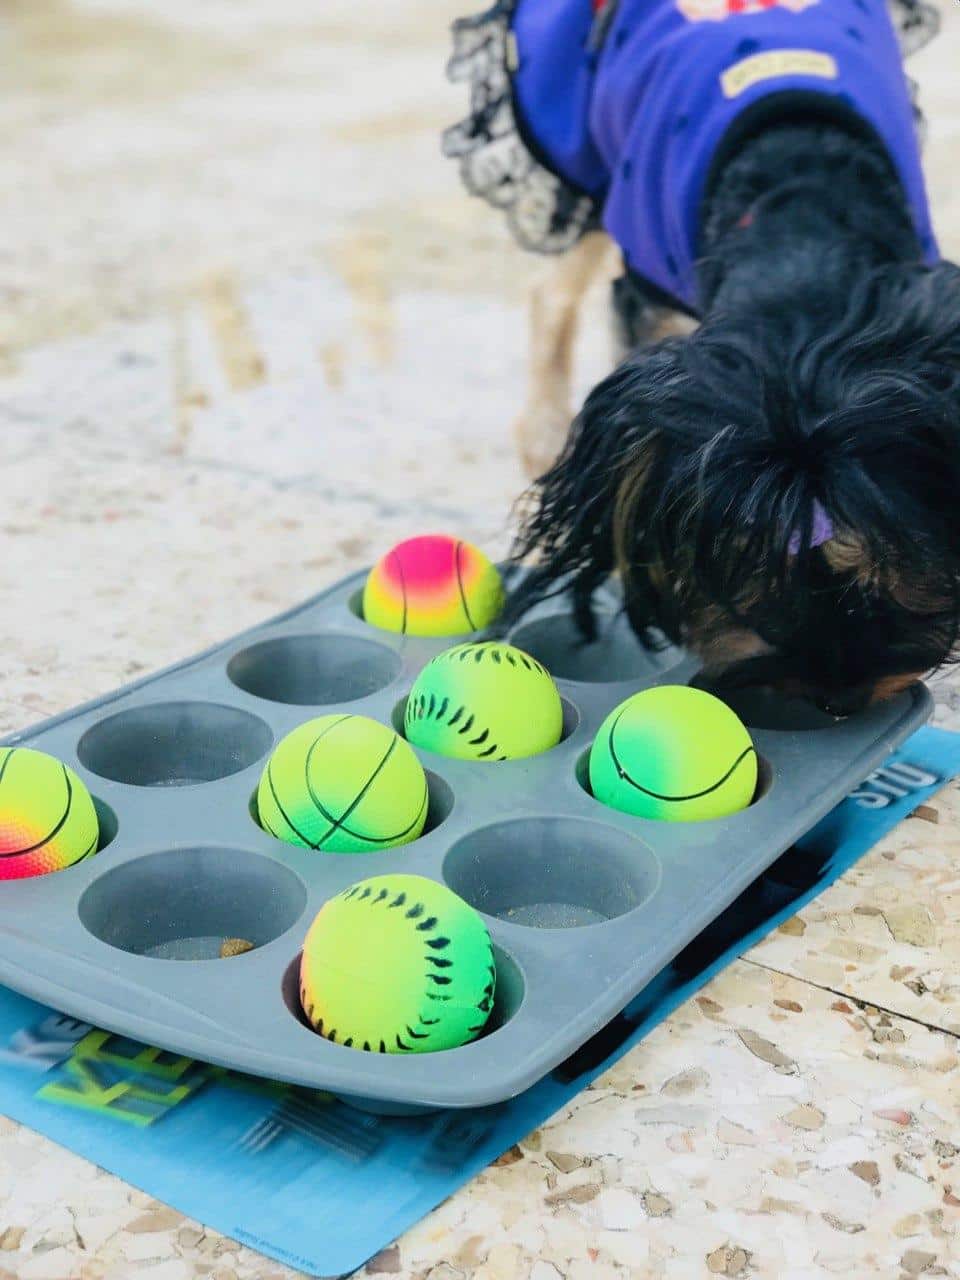
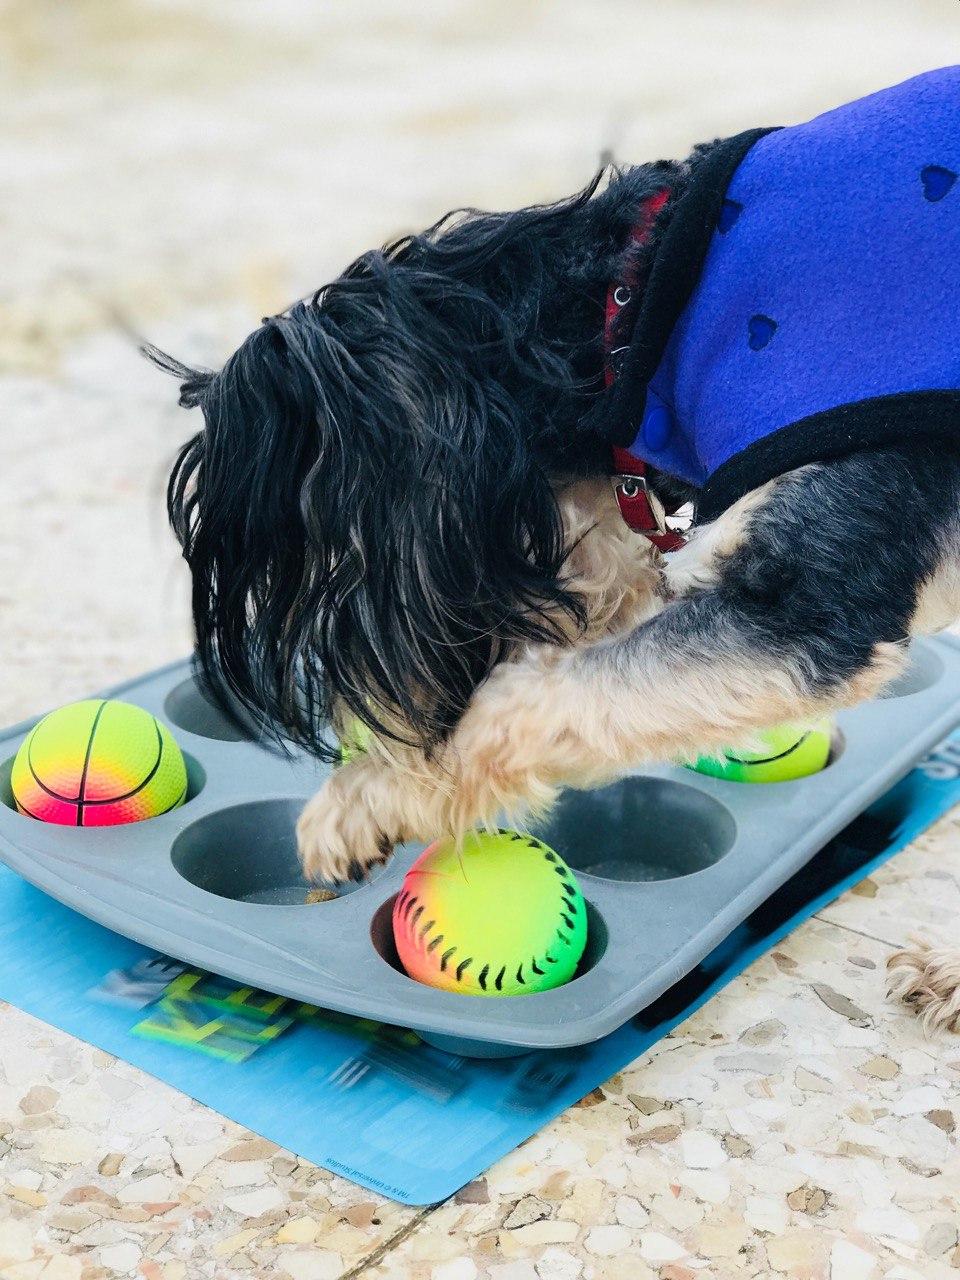
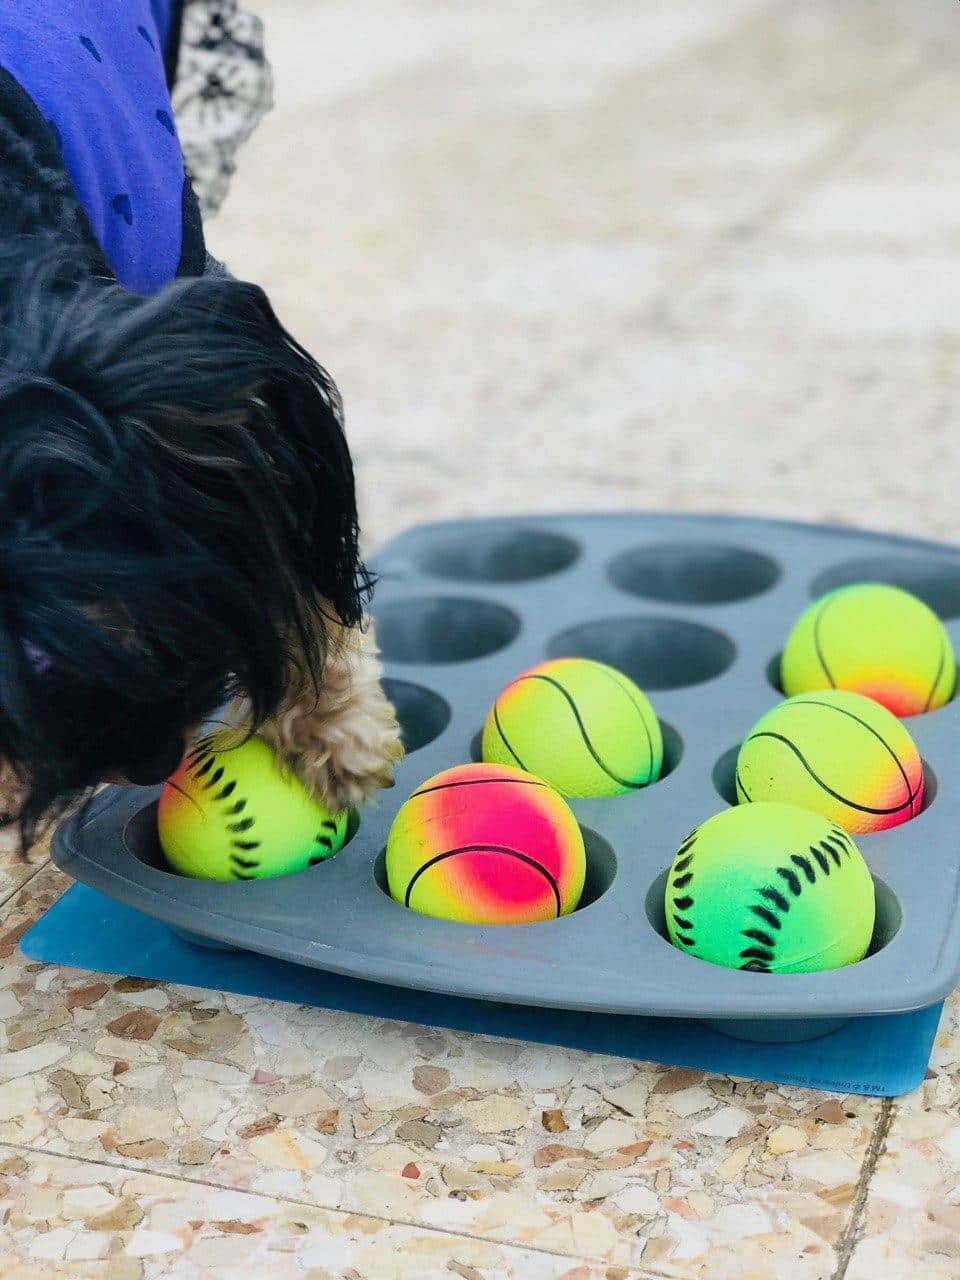
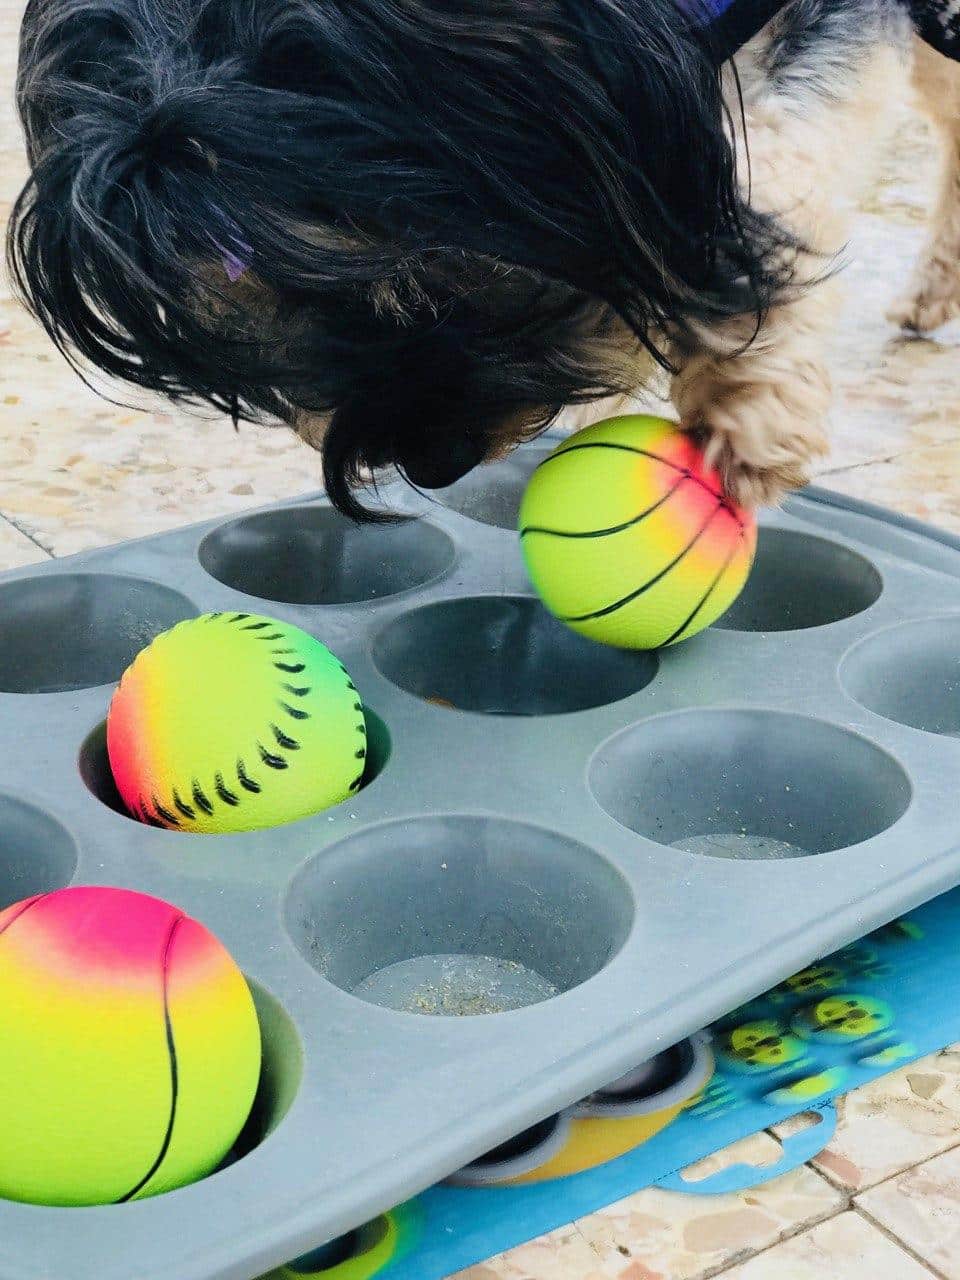
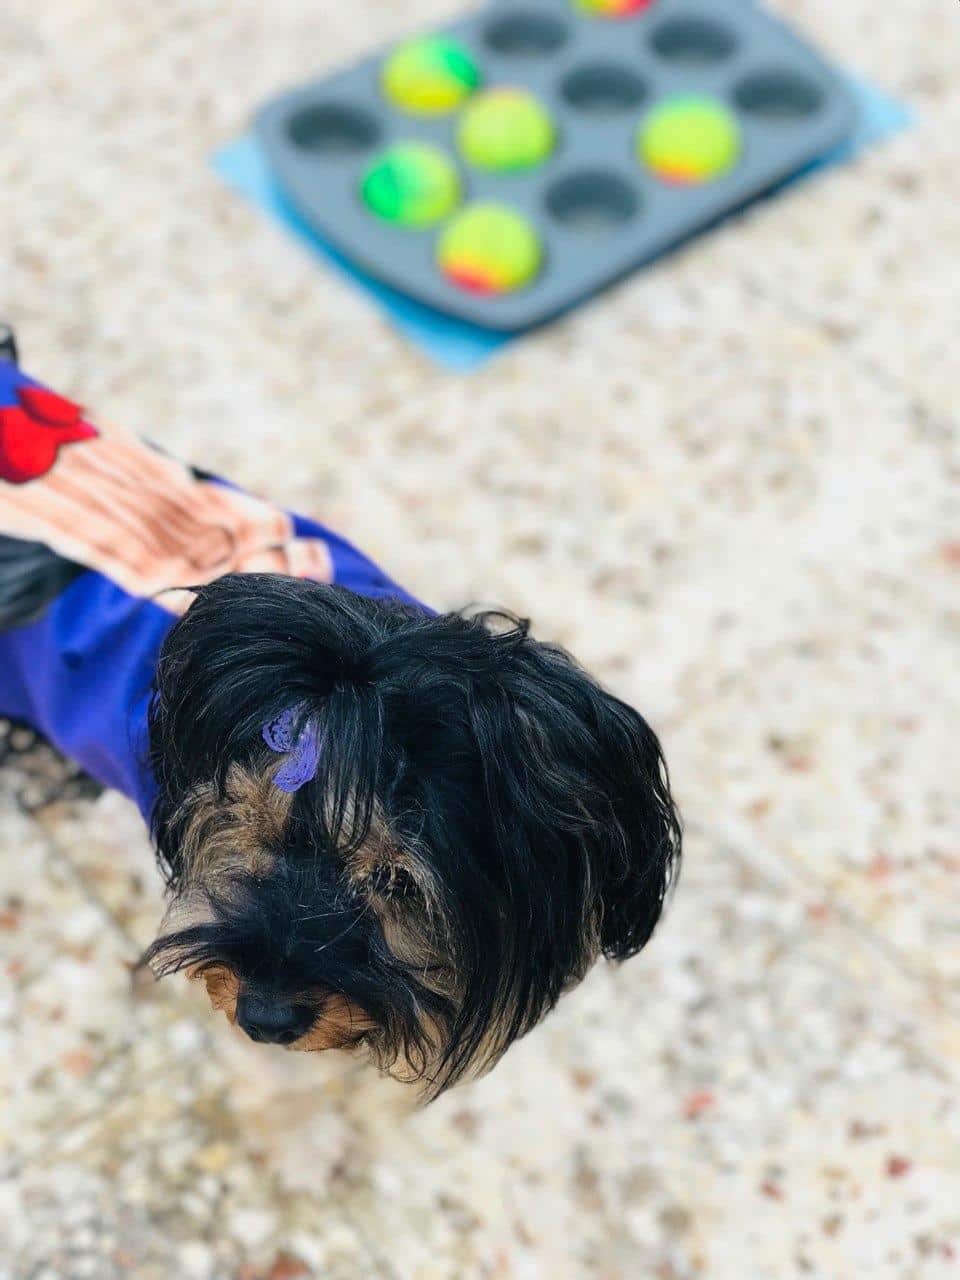
DIY dog puzzle feeder
McCann Dog Training
Got a muffin pan? How about some tennis balls? You need a dozen of them. Grab a cup of kibble and put a couple pieces in one muffin spot and let your dog eat them out of the pan. Then put another piece in there and cover it with one tennis ball. Let him work to get the food out and eat it. Keep adding more treats and balls for your pup until you get them all covered.
Make it more of a challenge by only putting kibble in 5 or 6 of the spots.
Diy dog house ideas
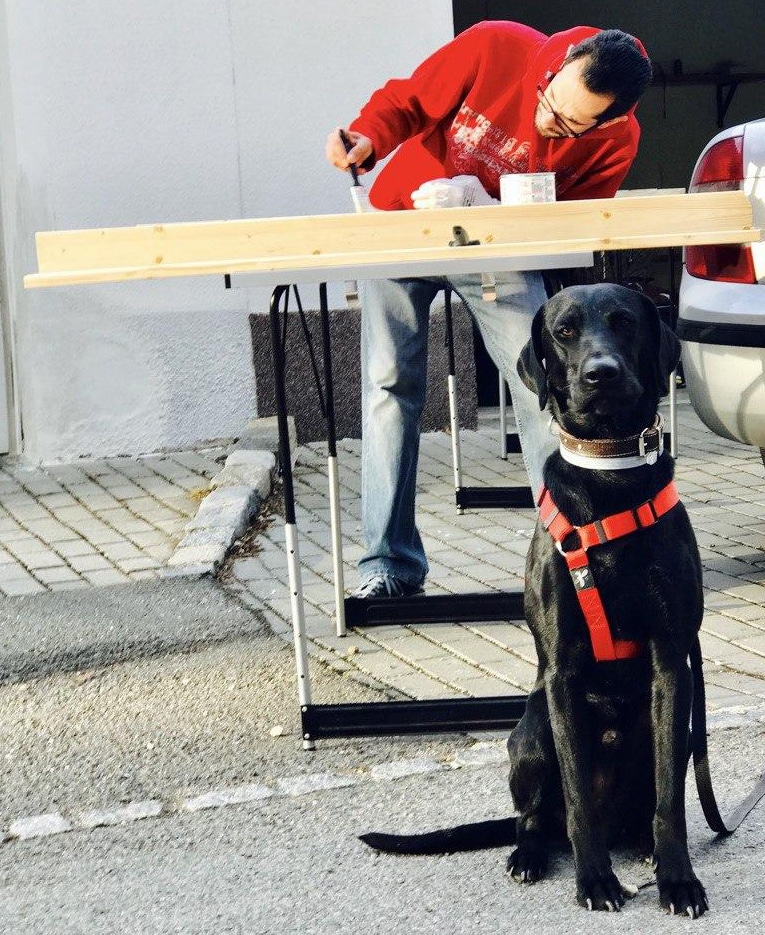
DIY Insulated Dog House Build
You will need to be pretty handy with wood and cutting tools like miter saws and circular saws. The best way to do this is to watch the video because it is pretty detailed. You will need some 2x4s that you are going to cut in half lengthwise so you will definitely need a table saw of some kind. A drill and a jig is important as well. Measure, cut, and assemble, then decorate.
Make it to fit your needs.
How to build a large Dog House?
Are you good at making things? Grab some 2x4s, plywood or siding panels, a saw, a drill, some nails, and some paint. You are going to want to watch this video for more details but you basically cut the wood into sizes big enough for your furbaby and secure them with nails and screws, maybe a bit of wood glue, and make sure it is level. Paint it whatever color you like, and put your pup’s name on it.
Toss a dog bed in there to make it cozy.
DIY Dog House
Another one that you will need wood and a saw, a drill, some screws and some time to watch this video so you can understand it better. You will need a 4×4 cut into 12-inch lengths, a 2×4 cut into the sizes you need for your size of dog, and a piece of plywood to cover the floor of the doghouse. You’ll also need a miter saw to make the angles for the frames. Get some dowels for the frame to attach the fabric and use some Velcro to attach the fabric.
If you have a heavy dog, make a brace in the middle underneath for stability.
How I built this BIG dog house
Are you handy with wood and tools? Then this one’s for you. This is mostly made with 2x4s and deck boards. Cut and screw together the boards making one wall at a time, squaring them as you go. Watch the video for more details. The outside frame is 6x6s and you will need to cut them with an angle for the roof. This one has a porch and a fan! Your furbaby is going to love this.
Use a cutting guide to make the cuts easier.
How to Make a DIY Dog House
For this one you will need one ¾ inch plywood 48 by 48, one 3/8 inch plywood 48 by 96, five 2x4s, three 1x6s, and three 1x3s. Screws, nails, a tie plate, level, and some basic tools like a saw, drill, hammer, etc. Measure the wood and then mark them before cutting. Watch the video for the measurements. Be sure to measure twice and cut once. Put the house together and secure it with screws, nails, and some wood glue.
Label each piece by marking them on the end with a marker.
DIY dog mat
DIY Recycled Dog Bed - No Sew
It always feels good to recycle things instead of throwing them away, doesn’t it? This recycled dog bed is so simple, anyone can do it. Use some old pillows and old blankets. Spread the first blanket out on the floor or table. Then lay the pillows on the blanket to see how much you need to cut off. You’ll need about 10 – 12 inches on each side to tie the top and bottom blankets together. Remove the pillows and put the other blanket on top so you can cut it the same size. Cut tie tabs about two inches long all the way around the blanket. Then put the pillows back in and tie the tabs to each other in a double knot on each tab.
You can sew the pillows together to keep them from moving around.
DIY Traveling Dog Bed - Home & Family
If you enjoy taking your Fido along with you when you travel, this traveling dog bed is a fantastic choice. Grab an old blanket or some fabric big enough for your dog to fit on. For a Golden Retriever, about 40 inches by 30 inches is big enough. Fold the blanket in half. Put some batting inside and cut it so it fits in the blanket with about an inch left on each end. Glue the ends with pet-friendly fabric glue and voila! Done!
You can use a dog leash and two collars and roll the blanket up to make it transportable (see video).
DIY Dog Ramp For Bed
This is great for dogs who suffer from Intervertebral Disc Disease (IVDD). This is a condition in furbabies that can range from mild back and leg pain to paralysis. If your furry family member is having trouble with his back legs or seems to be in pain, see your veterinary professional right away.
How To Build A Dog Ramp Tutorial
Do you have a pocket-sized pup? For those dogs who are closer to the ground than others, this dog ramp can be a big help. Gather these ingredients and get to work:
- Cube (Available at Target)
- Hardboard (Available at Lowe’s Home Improvement)
- Piano Hinge
- 12 small wood screws (1/2″ long)
- 6 small phillips flat-head screws (1/2″ long)
- 2 L brackets
- 1″ x 2″ wood plank (8′ long)
Making a Wiener Dog Ramp - Woodworking Project
Here is another ramp that can help your pup get up on anything. You are going to want to watch the video for more details but you will essentially need some plywood, a saw of some sort, a drill, some screws, hinges, a staple gun, and a carpet runner to cover it all. Now your little dog can get up and down from the bed as he pleases.
You can also use this for a couch or chair that your dog likes.
DIY dog fence wire: Welded Wire Dog Fence
Do you need a fence? Why buy one when you can make your own? If you don’t have a fence stretcher, check out this video to make one that will help stretch the fence out. Get some welded fence wire from any home improvement store such as Home Depot. Attach it to a fence post you already have in the ground. Then use the fence stretcher to stretch it out to the next post. So on and so forth.
You can use a tractor or truck to stretch the fence.
DIY Dog Beds
Make The PERFECT Dog Bed
It’s the perfect dog bed. Really, it is! You make it from old pallets and it has no bottom so you can change it as needed. Cut the frame to fit your furbaby. The one in the video is for two Pitbulls and made 40 by 31 inches. The vertical boards are cut to 11 inches. Attach supports with wood screws and angled edges. Watch the video for better details.
With no bottom, you can add any type of blanket or cushion you want.
DIY Dog Bed (for small dogs!)
Wooden crate, drill, paint and brush, sandpaper, and some fabric. Use the hammer to knock off the top two pieces of wood. Paint the wood whatever color you want, add some decorations and wooden letters to make the dog’s name. Glue the letters on the front and add the folded fabric to make it comfy.
You can also use a pillow or that awesome dog bed from #21 above.
Upcycle an Old Sweater into a Dog Bed
Grab some yarn, a couple of old pillows, an old sweater, and a large eye wool needle. Use the needle and yarn to sew the neck using a blanket stitch. Then stitch a seam along the chest under the arms. Fill the arms with batting, put the pillow inside the sweater, and sew it shut. Wrap the arms around it and sew them together. Sew the bottom to the arms and that’s all. Adorable and cozy dog bed.
You can use an old shirt too as long as it has long sleeves.
DIY dog hammock bed: PVC Elevated Dog Bed - DIY Guide
Here is another fun project you can do for your pupster with PVC pipes. A nice elevated bed that is light enough to put wherever you want it whenever you want to move it.
- 1-1/4” PVC Pipe (white schedule 40 PVC pipe works best) – (About 11.5 feet)
- 1-1/4” 3 Way PVC Fittings (also known as side outlet elbows) – (4)
- 1-1/4” PVC Flat Caps – (4)
- ½” Round washer head screws – (32)
- Outdoor fabric – (42” x 32”)
- Power Drill
- PVC Pipe Cutting Tool (cutter or saw)
- Tape Measure
DIY Dog Cloths
DIY dog collar bandana: Easy DIY Dog Bandana (Over the Collar)
Aren’t those bandanas on dogs adorable? But you like your pup to wear a collar, right? Make this super cute bandana that fits over the collar. All you need is some fabric, starch, and an iron. It helps if you have a sewing machine too but you can sew it by hand if you want to. Follow the directions in the video to get the best measurements and then starch, iron, and slip your dog’s collar inside, put the collar back on, and you are done.
Measurement Guidelines:
- 17 inch neck – 12 x 12 inches
- 15 inch neck – 8 x 8 inches
- 11 inch neck – 7 x 7 inches
DIY dog jackets: Easy DIY Dog Sweater (No Sew)
Does your dog get cold easily? Even in the summertime you probably keep it cool in the house. All you need is an old sweater and some scissors. It won’t work well for a large dog, though. Cut the sleeve off. Measure it on the dog to figure out where to put the holes. Flip it over and mark the holes. Cut them out. Make a U-shape for the end so they don’t get it wet when they go. Fold the neck for a collar. This is so easy anyone can do it. A great project for the kids to do and you can donate or gift them to a shelter.
DIY Extra Large Dog Sweater - Life Hacks For Dogs
Got some more extra sweaters or hoodies? Since we made a dog sweater for a little dog above, we should do one for a big pup. All you need is a hoodie and some scissors. Cut the arms off at the length you want. This one is even easier. Seriously, that is all you have to do.
You can tie the arms together to make a cool dog toy too.
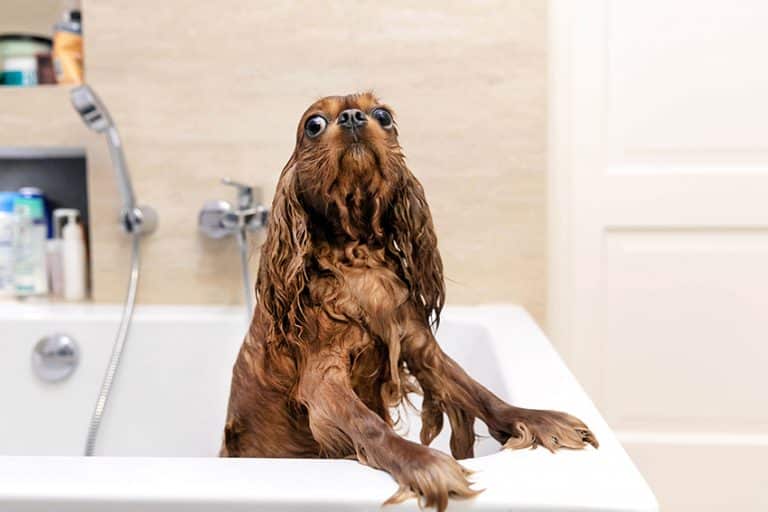
DIY dog bath: DIY PVC Outdoor dog Shower
Does your furbaby need a shower? Has he been rolling around in the mud or digging in the dirt? How about a shower? But you don’t want to take him through the house, right? Build him an outdoor shower! Gather up these materials:
- (8) 3 way elbow
- ¾ Hose swivel adapter
- ¾ 45 elbow
- Hose cut off
- ¾ tee
- (5) 10 foot PVC
- 8 cut to 31 inches
- 3 cut to 40 inches
- 1 cut to 39.5 inches
- 1 cut to 36.5 inches
- 1 cut to 2.25 inches
- 1 cut to 1.75 inches
Use the video to assemble the pipes and figure out how to put the holes in the pipes for the water to come out. Then hook up your hose and grab the pooch.
This is also a fun toy for the kids.
DIY dog urine neutralizer: How to remove pet urine odor from your carpets?
All fur babies have accidents sometimes. If you have a dog or a cat, you will probably have this problem at least once. Here are some great tips to get rid of the urine odor.
- Sprinkle baking soda on it. Let it soak for 24 hours. Vacuum.
- Spray vinegar heavily on the carpet so it soaks all the way to the pad. Apply a lot.
DIY dog ear wash: How to Clean a Dog's Ears With Vinegar and Water
If your dog is scratching at his ears all the time but there is nothing in there, maybe they are just dirty. Try cleaning your fur buddy’s ears with vinegar and water. Use one part vinegar to one part water and use a Q-tip to CAREFULLY clean the outside of your pup’s ears. This will also get rid of any yeast, which causes infections in many dogs.
Take your pooch to a veterinarian first to make sure there is no inner ear infection or damage.
DIY dog odor remover: DIY Stinky Pet Deodorizer Spray
Another great way to clean your dog is to just spray this on them and rub it in. Grab an empty 8 ounce spray bottle and add 6 drops of lavender essential oil, cedarwood essential oil, vetiver essential oil, and mix them together. Then fill the rest of the bottle with distilled water.
You can also use the spray on cats, although they don’t enjoy it at all.
DIY dog soap: How to Make Pet Soap {using natural essential oil blend}
It’s not good to use most store-bought human soaps or shampoos on your furbaby. Whether you have a big or small pooch, or even a cat, this DIY soap is fur-fect for getting them clean and smelling great without any dangerous additives. Mix 3 ounces of olive oil, 3 ounces of coconut oil, 3 ounces of palm oil, 2 ounces of rice bran oil, 1 ounce of castor oil, 4 ounces of water, and 1.8 ounces of sodium hydroxide. Add 5 drops of peppermint essential oil, 5 drops of lemongrass essential oil, and 2 drops of eucalyptus oil. Pour into a squeeze bottle and use at his next bath.
For cats try 2 ounces of castile liquid soap, 3 drops of peppermint essential oil, and 3 drops of lavender essential oil. Mix them together and pour into a clean squeeze body.
DIY dog flea spray: Natural Flea and Tick Spray for Dogs
If you hate using those ridiculously expensive and sometimes toxic flea and tick sprays or collars, this easy to make spray is perfect. You need ¼ cup witch hazel, ¼ cup aloe vera juice, 10 drops of lavender essential oil, 10 drops of lemon essential oil, and 20 drops of cedarwood essential oil. Mix it all together and put it in a spray bottle.
The lavender oil is also good for inflammation.
We all love our fur babies because they are family. They love us unconditionally and we do them. It is always fun to spend time with your pooch and it is even more fun to make things together. Let your dog watch you work when you make any of these DIY ideas. Just make sure they stay away from the dangerous items like power tools, nails, screws, etc. After you make one of these projects, leave us a note below in the comments so we can share in your creativity. Drop a photo on here too! And, as always, if you have any other suggestions, add them to the comments.